01 October 2011

The last day of the National Sewing Month Challenge, Preemie smock

Welcome to the last day of the National Sewing Challenge, yes it is a day late. Yesterday I had some technical difficulties with a serger that my MIL lent me. I'm sure I'm smarter than a 5th grader, but not smarter than a serger lol! I tried and tried and could not figure the thing out and after countless attempts and YouTube videos I gave up at 11:25 last night. So today is the grand finale of the challenge!

Preemies hold a special place in my heart having had two. It was a very scary situation when my twins came into this world. But the nurses in the NICU did their very best to make us all comfortable during our 9 week stay. One of the simple things that parents or anyone really take for granted is the comfort in seeing your baby or babies in clothing. Something so simple can easy the mind of a worried parent. And to be honest when your babies are hooked up to leads and IVs clothing can kinda hide it all and for a moment you feel normal. Finding clothes in stores for 2 lb babies is impossible. Most of the clothes that are deemed preemie are I swear newborn size clothes but a couple of inches shorter in length. Preemie babies are just small length wise but also width wise. And finding something that is easily changeable while baby is in an isolette and hooked to wires and tubes and what not forget it! I have been surfing for awhile looking for something that I could sew for preemie clothes and the only one that had a pattern for sewing and not knitting was at EverythingYourMamaMade&More. I have yet to use a pattern for any of the challenges this month but knew I would need one for this. This is a very simple pattern and I have to say that it took me longer to turn the piece right side out then it did any of the other steps combined.

Here is the back piece and the two front pieces, cut two of each piece.
Yes I know the pic is upside down..long story.
Lay the pieces like so:
Sew the top pieces at the shoulder together. Then open flat and press flat.
Do the same thing to the second set of pieces. Then pin flat right side to right side.
Sew around the whole thing leaving a couple of inches at the bottom of the to turn.
I trimmed around the edges after sewing to make it a little easier to turn and lay the corners flat. 
Next turn and press. And then sew a all the way around to give it a more finished look and to close the hole that you used to turn. 
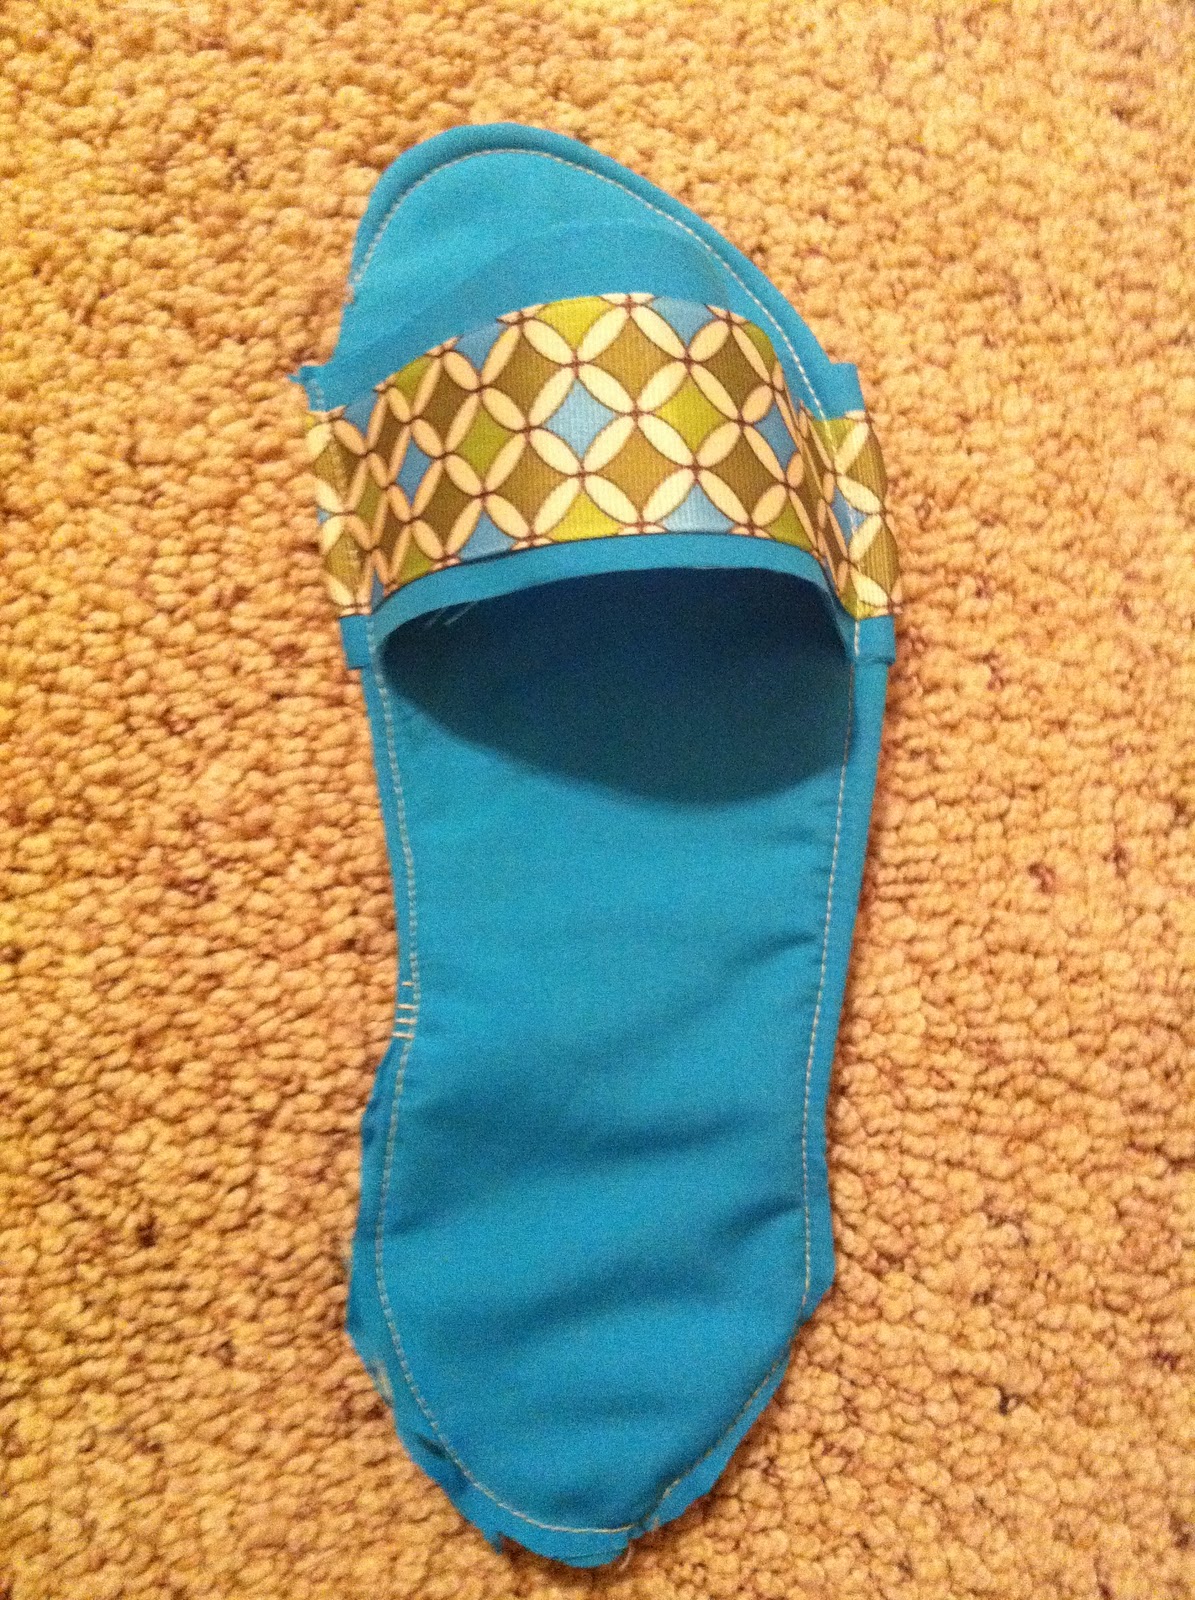
This is what it will look like when almost finished. I forgot to buy Velcro so I still have to sew that on and then the curved back piece will attach to the front, see pic below.
This is what it will look like when finished. I'll be getting so more fabric and Velcro at the store today to make more and finish them. 
This is one of little Missy's dolls that is a little chunkier than she was when she was born but the same basic size. This should fit a 2-5 pound baby with no problem. I'm going to make a slightly longer strip of Velcro on the pieces than what were on the pattern so it can be adjusted width wise making it more likely to be usable for micro preemies (1-3 lbs). 
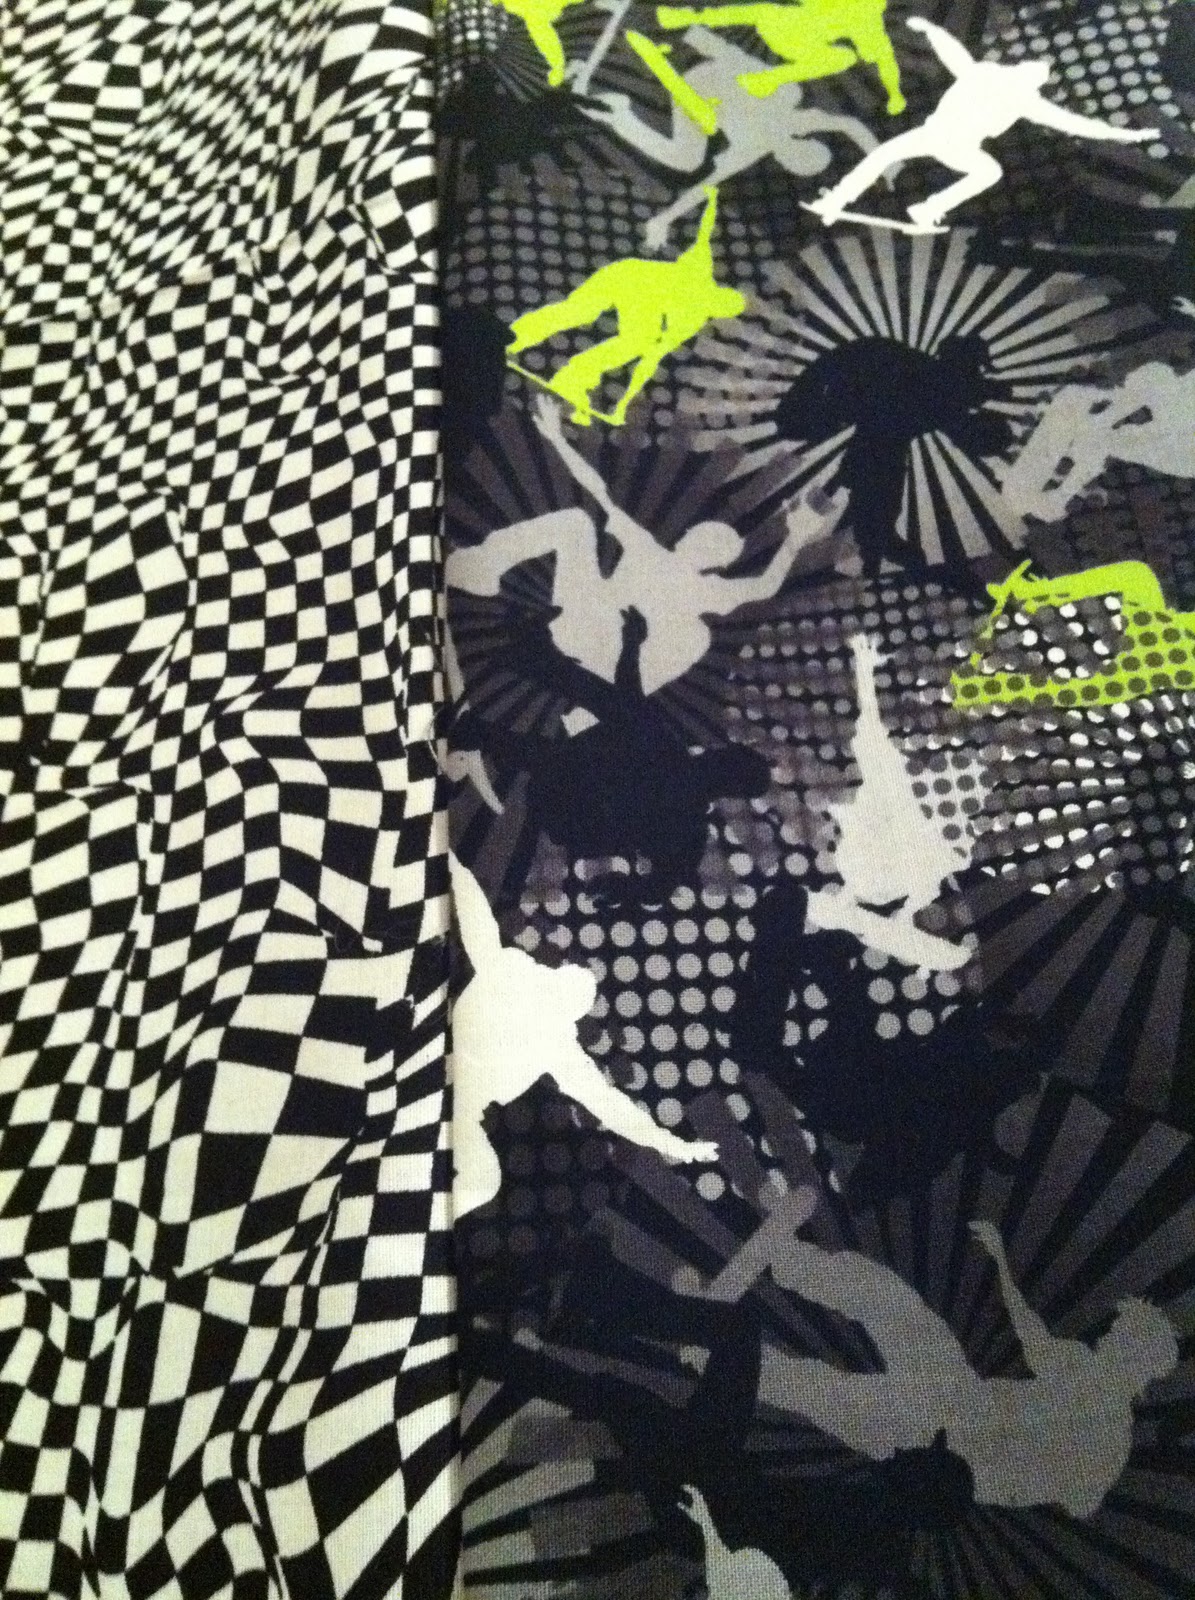
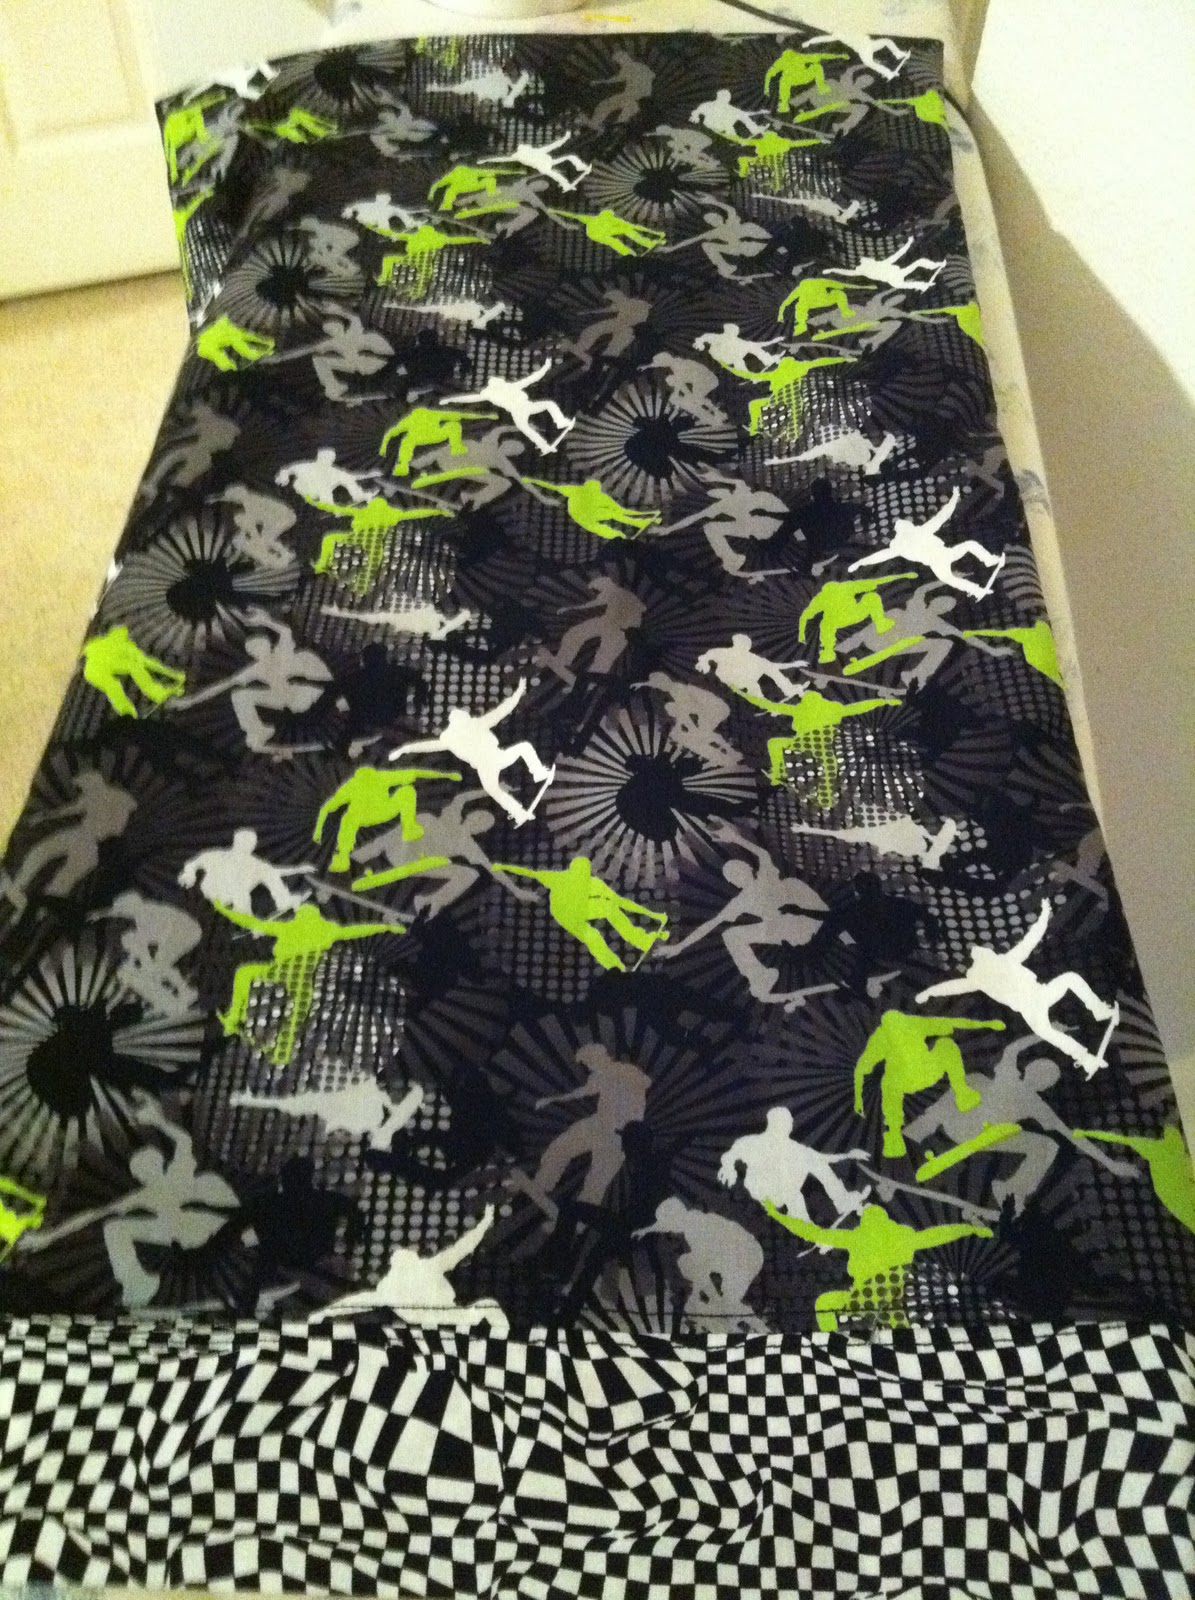
I'm so excited to make some more of these in different prints! I think this is my most rewarding challenge. This could become habit forming! If you are reading this and have a baby in the NICU I would be more than happy to make and send you some of these, so please don't hesitate to ask!
Have a great weekend and I can't wait to post a pile of these!


29 September 2011

National Sewing Month Challenge Day 29, Key chain

Welcome to day 29! I was really at a loss for what to make tonight. I guess if I started earlier in the day it wouldn't really be a problem but I spent all day baking. This weekend is dedicated to something special so stay tuned!
I have used this same fabric for my laptop clutch and my wallet. Think I might like it?
And the other side because you know I can't just use one fabric!
It has a little bit of fiber filling in it just to give me something to hold on to. And come on fluff is cute!
Have a great night and please check in over the weekend!!

28 September 2011

National Sewing Month Challenge Day 28, Eye mask

Welcome to day 28! Today I made an eye mask or what some call an eye pillow. I'm not sure what prompted me to think about making one of these and I have never used one but here it is. And its really nice to use some fabric scraps that were collecting dust too!
This is a pretty simple design. There is a layer of interfacing in between  the two printed fabrics. And then a very thin piece of elastic. 
I must say that its pretty darn comfy and I will be using it tonight! 
And good night!

27 September 2011

National Sewing Month Challenge Day 27, Little bag

Welcome to Day 27! These bags are super easy to make and very cute! I like to make these for gifts and in place of gift bags. As of late I have really tried hard to make gifts and gift packaging as green as possible. What's better than giving a little girl who's turning one a hand sewn felt sack lunch set and the bonus being her mom gets a nifty little tote! My new gift philosophy  is anyone can walk into a store and buy something, but it takes heart and thoughtfulness to make a personalized gift. Usually I make these bags reversible, this one however is not. It is lined with the polka dot fabric, but I wouldn't consider it reversible since the handles are just ribbons with print on one side. So if the bag is turned inside out the ribbon handles would look just plain white, and I'm not really all about the plain.
And the little the finished bag.
Yes this is the same fabric I used for the sewing machine cover! I love getting the absolute most out of one yard of fabric, and I still have MORE!
Have a great night!


26 September 2011

National Sewing Month Challenge Day 26, Pillowcase number 2!

Welcome to day 26! A couple of days ago I made Big J a pillowcase and needless to say Little J was a little upset he didn't get one. So today while the Twinsies were at school Little J and I went to the craft store and he got to pick out his own fabric. My little guy has an obsession with the movie Cars (and Cars2) and moo cows. I managed to convince him to pick one or the other for his pillowcase. He wanted Cars fabric AND cow print fabric. I'm not surprised he loves his Cars and cows! Well this is the fabric he decided on, after waffling over the two Cars choices he had.
Little J pointed out that this was Cars1 and not Cars2. It still has a lot of his favorite characters; McQueen, Mater, Luigi, Guido, Red and Sheriff! 
And this is my sweaty little sleeper with his new Cars pillow and his moo cow that he named Farmer!
Have a great night and see ya back here tomorrow!

National Sewing Month Challenge Day 25, Slippers

Welcome to a very late day 25! Yesterday I was ill and didn't get much accomplished. So today I made two projects! The first was a pair of slippers for myself. They were pretty simple to make. And although I don't think they will win any sewing awards they are comfy. This will sound really weird but no matter how clean my floor is, we have hardwood, carpet and tile, I can't touch the floor with my bare feet. I'm not sure why but I just can't stand the feeling of the floor on my feet. So I just wear flip flops or slippers all the time.
There's not really a lot of parts to these slippers. One insole, one outer sole, two fleece pieces for padding, and a piece to go over the top of the foot.
Here is a pic of the finished slipper(s).
And then this one to show that it is wearable. 
Get ready here comes another day! 


24 September 2011

National Sewing Month Challenge Day 24, Sewing machine cover

Welcome to Day 24! Last night when I purchased the fabric for Big J's pillow case I also saw this fabric and decided to make a sewing machine cover. I imagine after this month is over I probably won't be sewing as frequently and should keep a cute little cover over my machine. Hey why not, right? I had purchased this fabric with a ribbon in the exact same pattern but realized after sewing it that it was a little wide to be tied easily. Here is the fabric pre-project:
I just love this fabric! It's just so pretty, a bit vintage but still very modern. And I have plenty left to make a little bag or something later this month!!
Here is the finished cover. I have to admit I am very addicted to this ruffled trim. I have yet to make something that it didn't end up looking adorable on! And please excuse my messy desk. It seems no matter how much I try to declutter it it always ends up back to a piled up mess!
This is only one layer thick of fabric, I'm not worried about my sewing machine getting cold. Also the thinner ribbon seems to work a lot better too. Now what to do with the thicker ribbons I already purchased!? 
Maybe there is a cute printed belt in my future?
Happy Crafting and have a wonderful evening!


23 September 2011

National Sewing Month Challenge Day 23, pillowcase

Welcome to Day 23! My little (or not so little) boy is out growing the cutesie things and on to the big boy stuff. My two boys share a room and a bunk bed. So I have been thinking that making their bedding a little more personalized. Since pink for the Missy, blue for Big J and green for Little J, those are the colors that each kid has ended up with. Why not make them a little more than just plain jane!
Big J likes skate boarding, in the house. And I think he will pretty excited when he sees a skate boarding related pillowcase. This was a really nice change to my last few projects, this was so easy!

Here is the fabric:
The skate boarder fabric is cute in its own way I guess. But this black and white fabric is really hard on the eyes. As you can see its checkered but has a weird wave to it. 
Measured the fabric to the size of the pillow and pinned the two pieces together.
After sewing I pressed the seam flat. 
Next I folded the edge over of the black and white fabric to make a finished edge. Then took the seam that holds the two different fabrics together and folded those edges over so the raw edges aren't visible. After sewing the side seams its all done! 
And the finished pillowcase. I am saving for a serger so I just zig zag stitched the edges in hopes of the edges not fraying to much when I wash it. 
Hmm what else should I make with this fabric combination? 


22 September 2011

National Sewing Month Challenge Day 222, Place mats

Welcome to day 22! Today I made some place mats. I might be slightly partial to the Autumn season for some fairly obvious reasons. And if you don't know already my name is Autumn. With this project I saw this fall-ish fabric at my local big box craft store in the clearance bin when I bought the fabric for yesterday's project. It was pretty inexpensive, and it ends up being about a $1 a place mat. So not to shabby! I have always wanted a beautiful table-scape that changed with the season and occasion with place mats, candles, cloth napkins with fancy napkin holders and well I have three little kids and they are destructive. So I thought at a minimum I can try the place mat thing. Along with the place mats today I also made some tasty three berry coffee cake muffins and cajeta gelato! And I managed to clean house! I think I'm going to need to wrap this up I'm tired!
Here is one of the place mats with a muffin:
I love the orange, olive, red and gold in the fabric. Just perfect for Fall!
And here is a close up of the muffins. These made the house smell so yummy. When I filled the tin cavities I layered the almond muffin batter with mix of blackberries, blueberries and raspberries. Then put more muffin batter on top of that. Next I topped them with almond slices and sprinkled on cardamom.  I love cardamom!  I think it just adds the extra little "Yay" to the taste factor. 
Have a great night!

21 September 2011

National Sewing Month Challenge Day 20 & 21, Nightie

Welcome to Days 20 and 21! Yes this is another combined day, but only one project. This one took me two days to complete. And I don't think I'll be making anymore clothes for a while, it was a tough one! I found this really pretty (slippery and raveling) fabric at my local big box craft store in the clearance bin and the lacy ribbon was half off, making this project a whooping $4! I really hope it doesn't look like $4 though! To look so simple it was so difficult because of the fabric being so slippery.
Pre-project
And the finished product! I'm really hoping that it doesn't fall apart the first time I wash it. And now to think about tomorrows project! Good night all!

19 September 2011

National Sewing Month Challenge Day 18 and Day 19!

Welcome to a combined day! Yesterday really go away from me and I woke up this morning realizing I forgot to post yesterday. Oops! So today will be day 18 and 19, hope you don't mind.
For day 18 I made my daughter (another) apron, I told you I have a thing for aprons. This is her third one made by moi. If I'm not careful she's going to have more! This fabric is so stinking cute too.
My pretty girl!
And the cute little tie.

And for Day 19 I made a sunglasses holder that matches my buttercup bag that I made a couple months ago. 
I just love this fabric, I've said before that it reminds me of a Stampin' Up! stamp set. Since I have a very nice pair of sunglasses that I absolutely love I try to take care of them. And even though I typically wear them on my eyes or on top of my head I really don't worry about the "pit" growing inside my purse. But the beautiful sunny weather is slowly fading and I won't be using them as much. And instead of my glasses acting as a headband I'll be wearing a snow hat. So I thought that I why not make a cute little holder for them with super soft fabric on the inside! I made the loop on the holder large enough that it will fit over the arm on my cup holder in the van. Very handy I tell ya! But I think that I will still tote them in my purse since its all matching now lol!
Cute little holder.
And with my favorite (and only) glasses.
And the inside view of the super soft fabric. 

While typing this I realized that I used the exact same fabric combination, again scraps, for my ring holder. I just love using something that i could have thrown away for something cute!  Hope you all have a great night and see ya tomorrow! 


17 September 2011

National Sewing Month Challenge Day 17, Headband

Welcome to Day 17! Today has been a very crazy day. We drove up to Aspen and my little Buddy turned three! Seeing Maroon Bells in Aspen was so amazing, so pretty. The lake had the smallest rainbow trout I have ever seen, like five inches long. Colorado mountains are so beautiful. And for the most part everyone was well behaved, for the most part. As much as five year old twins and a two and a half year old can be in a car for three and a half hours anyway! After a long day celebrating Buddy's birthday and hanging in the mountains we came home with just enough time for me to make this headband and post it before midnight!

This is a two really cute fabric prints!  The headband is two "ribbons" of fabric sewn with the patterns of the fabric opposite with an elastic strip at the nape for some stretchiness. And I am proud to say that this entire headband elastic and all was made from scraps of other projects!! I love it when that happens! Here are two pics, one with the fabric one way and one with the other.
My sister Heather will enjoy this, I am not really a headband person as much as I would like to be. I sometimes start wearing one while doing housework but I have such long and heavy hair (past my waist) that it seems I always end up taking them off out of irritation. It's been a long day!
Happy crafting and have a good night!

16 September 2011

National Sewing Month Challenge Day 16! Stuffed bone

Welcome to Day 16! Today I made my little Buddy a stuffed bone! My husband decided to go to bed at 8 pm tonight pretty much banning me from sewing in my bedroom so this baby is hand sewn. And its obvious! I am awful at hand sewing no matter how hard I try it never seems to get any better. It's a little rough but I think that it will be fine for Buddy, after all he is just going to ignore it until I can sew some eyes on it. He has a thing for chewing the eyes off of stuffed animals and pulling their stuffing out thru the eye sockets. Thankfully though he doesn't eat the eyes I just find them in the middle of the night when I get up to use the bathroom.
The yellow bone against my hideously white leg. 
Happy Crafting and good night!

15 September 2011

National Sewing Month Challenge Day 15! Party Hat

Welcome to Day 15! One year ago tomorrow I went to the Humane Society and found my best friend. Due to logistics I had to go back the next day to pick him up. Named Buddy by the first shelter he was in that transferred him to a second one. He is shy, complicated and damaged...we are so alike its not even funny. My sweet little pound pup will be turning 3 on Saturday and why not celebrate the day he became my 3rd fur baby! He is an amazing dog and buddy who over the last year has barked maybe a dozen times, no lie. Never whines or makes much noise at all really. And aside from the occasional accident in the house, that is usually my fault, he is perfect.
Enough mushy stuff to the project! I decided to make a fabric party hat for the small celebration that we will be having on Saturday for Buddy. There are a couple of pins in it holding the ribbon on as the glue dries but other than that its done!
And a very sleepy Buddy with his hat on!
Have a great night and see ya tomorrow!

14 September 2011

National Sewing Month Challenge Day 14!! Washable coloring tote!

Welcome to Day 14, notice any changes? Yes, the text should be much easier to read from now on! Today, I enlisted my three little helpers with this challenge. It all started with an idea that I got from my daughter's project at school of decorating a cardboard box and putting a donate toy in it for charity. It seems like a really sweet idea and we have plenty to give so we may end up making some of our own boxes here. Well that spawned a whole series of ideas that eventually led to this project. Bear with me its all going to make sense by the end of the month trust me.
Anyways, here's today's project toy totes. They are simple to make. I just love this flat bottom bag and bin pattern. This is made with white canvas that is stiff enough that it can stand up on its own. And hopefully will continue to do so after a couple of washings. I choose white canvas because I thought it would be really fun for the kids to have something that they could color over and over again. Washable coloring toy totes who knew! So I cut the canvas to the size that I wanted and let the kids stamp them with some fun kid friendly stamps. They had butterflies, bumble bees, sea creatures, kittens and puppies. Note these aren't very big for a reason, my kids are pretty small so they needed to be easily handle able. I might add handles to them at some point, maybe.

This is my little Missy stamping her canvas:
After stamping the fabric take it to the iron and press it. I like to do it from the back with the image face down and then face up. This will ensure that the image will stay for quite a few washings. Also using a quality stamp pad will help. 
Sew up the sides of the tote, and then the corners. I initially wasn't going to finish the top edge but got into the sewing moment and did it anyway. 
These are the finished totes. Its pretty funny that they are so different.
This is little Missy's with her "Sharks need love too" theme. 
The Moo HAS to over do it...and has a love for puppies and kitties. 
And the Jules who is a minimalist and didn't even want to do the project but managed through it for me. 
The really fun part of these will be watching them color them over and over again.
Or will it be me creating more laundry for myself!
Happy crafting and good night!

13 September 2011

National Sewing Month Challenge Day Thirteen, Ring Holder

Welcome to Day Thirteen! Everyday I do the dishes by hand, our dishwasher is broken. And every time I take my rings off and put them in a plastic baby food container on the counter above the sink. Today I noticed that its rather unattractive next to my lovely little plants. So in thinking that I could beautify the container I gave up lol.  My mom suggested that I make a jewelry holder today as my project so I thought hey why not make one just for when I am washing dishes. The jewelry holder is made from the same fabric that I made my buttercup bag a couple of months ago. I really like how it reminds me of Stampin' Up! stamp sets!
Here is the side view.
And the top view.
Just large enough for a few rings and maybe a bracelet. Its a very soft material, although I'm not sure what it is I found a small scrap in my hoard. 
Have a good night and happy crafting!